Sep. 02, 2026
If you're considering renovating or installing new flooring, understanding the various types of floor molding, including baseboards, trim, and transition pieces, is essential. This guide is designed for homeowners, contractors, and DIY enthusiasts seeking to enhance the aesthetic appeal and functionality of their spaces. By addressing common problems such as gaps, uneven floors, and aesthetic mismatches, we aim to help you select the best floor molding and underlayment solutions for your project. Choosing the right floor molding can prevent complications such as moisture damage, misalignments, and even long-term structural concerns.
Before diving into the types of floor molding, it's important to familiarize yourself with some key terms and principles. Floor molding is primarily categorized into three types: baseboards, trim, and transition pieces. Understanding these will allow you to select appropriate solutions for your flooring needs.
Terminology: Baseboards are the boards that run along the bottom of a wall, providing a seamless transition between the wall and the flooring. Trim refers to decorative wood or synthetic details around doors and windows, while transition pieces connect different flooring materials, ensuring a smooth and safe passage between distinct surfaces.
Principles: The primary principle behind using floor molding is to cover expansions and contractions of flooring caused by temperature fluctuations. Properly installed molding can help to prevent water damage, enhance durability, and create a polished look.
Background: Historically, floor molding has evolved from basic functional pieces into intricate designs that add character and style to interiors. For instance, trends indicate that the use of wooden skirting boards has surged by 25% in the past 5 years, reflecting a shift toward natural materials for home decor.
Before selecting floor molding, evaluate your floor type and the transitions required. Consider whether you are using hardwood, laminate, or tile, as each material may require specific molding solutions.
Based on your flooring type, choose appropriate moldings. Baseboards are typically 3 to 5 inches high, while shoe moldings are usually ¾ inch high to cover expansion gaps beneath baseboards. Transition strips vary in length and type, with T-moldings for joining two floors of similar height and reducer strips for differing heights.
Gather essential tools, including a miter saw or a coping saw, tape measure, level, and finish nail gun. The right tools can drastically reduce installation time, with professional installations averaging about 60% faster than DIY due to experience and equipment.
Accurate measurements are crucial. Measure the length of the walls where the baseboards will be installed and record the dimensions. Cut the molding at a 45-degree angle for corner joints to ensure a seamless fit.
Use finishing nails to secure the baseboards and trim to the wall, ensuring they are flush with the floor. This step helps avoid gaps where dust and moisture can accumulate. A recent study indicated that properly secured molding can reduce the risk of water damage by up to 40% compared to improperly installed options.
Fill any gaps or nail holes with caulk or wood filler to create a polished finish. It's essential to allow the filler to dry completely before painting or staining to achieve a smooth, professional appearance.
Begin installing transition pieces after completing the baseboards. Position them between different flooring types, ensuring they align correctly and adhere securely.
Common materials for floor molding include solid wood, MDF, PVC, and vinyl. Solid wood offers durability and aesthetic appeal, while MDF provides a cost-effective alternative that can mimic the look of wood.
Yes, many homeowners successfully install floor molding themselves. However, professional assistance can ensure precise measurements and cuts—reducing potential errors in the installation process.
Select a color that complements your flooring and wall paint. Neutral colors tend to work well in various settings, while whites or muted tones can help create an illusion of height and spaciousness.
Consider delving into advanced installation techniques, such as coping joints or using adhesive for added longevity. For those looking to expand their knowledge, research articles on molding trends and applications in interior design can provide deeper insights.
If you’re ready to take the next step in your flooring project, we recommend exploring high-quality molding solutions from Alpine Floor. Their extensive range offers options suitable for various styles and budgets. For personalized assistance or product inquiries, don’t hesitate to contact Alpine Floor.
Latest News
Sep. 02, 2026
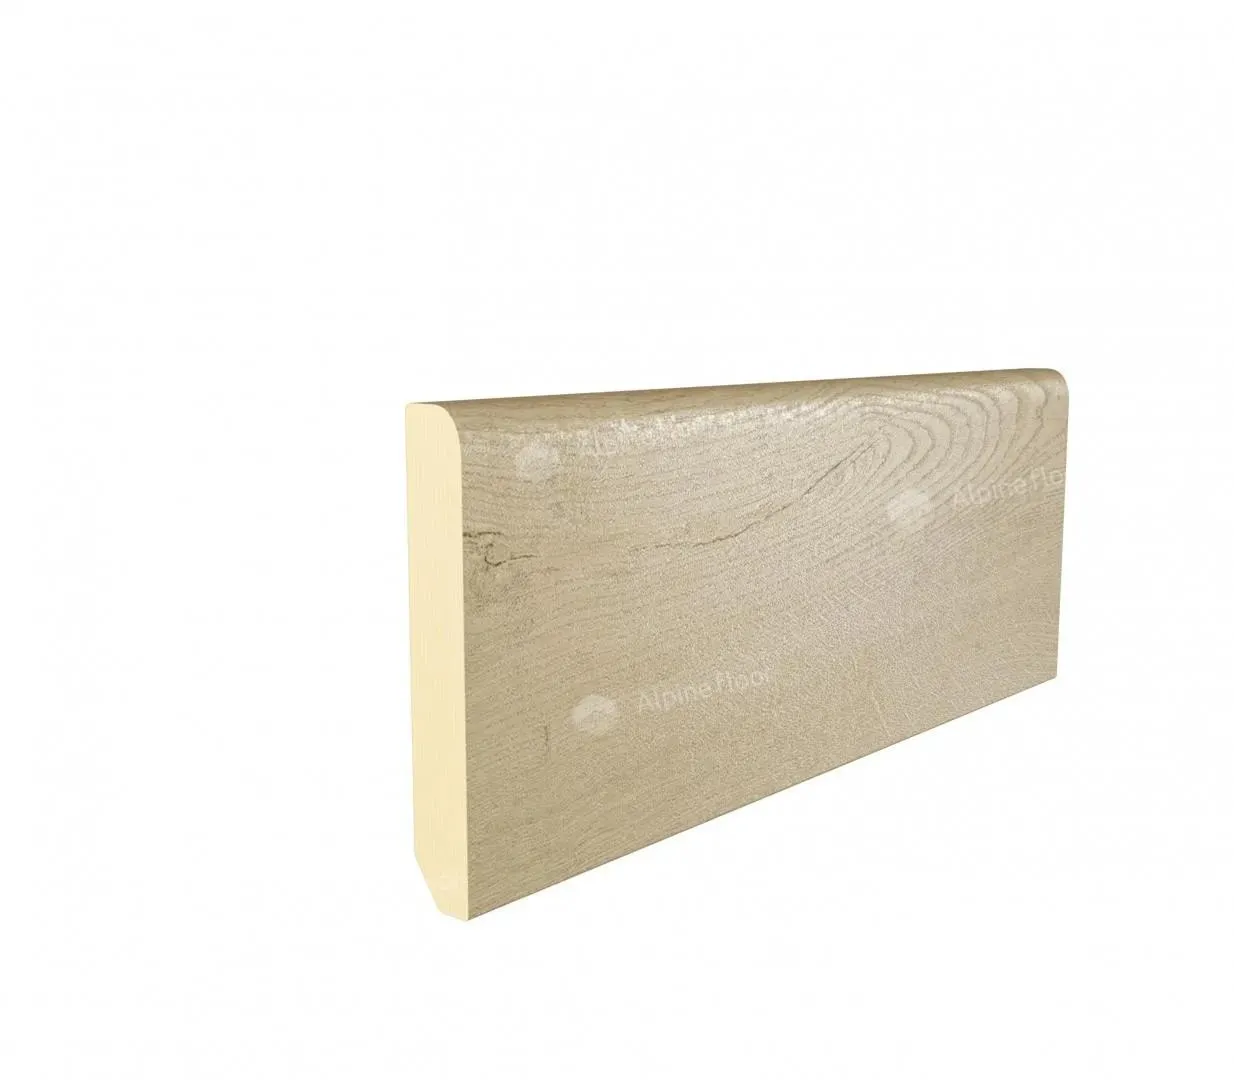
Baseboard vs Skirting Board: What Is the Difference?
When it comes to interior design, distinguishing between baseboards and skirting boards can present a challenge for homeowners and decorators alike. Many individuals grapple with fundamental questions: What ensures the perfect finish to your floors? How do these two architectural features enhance aesthetics and function within a room? Both floor molding and underlayment play pivotal roles in
Sep. 02, 2026
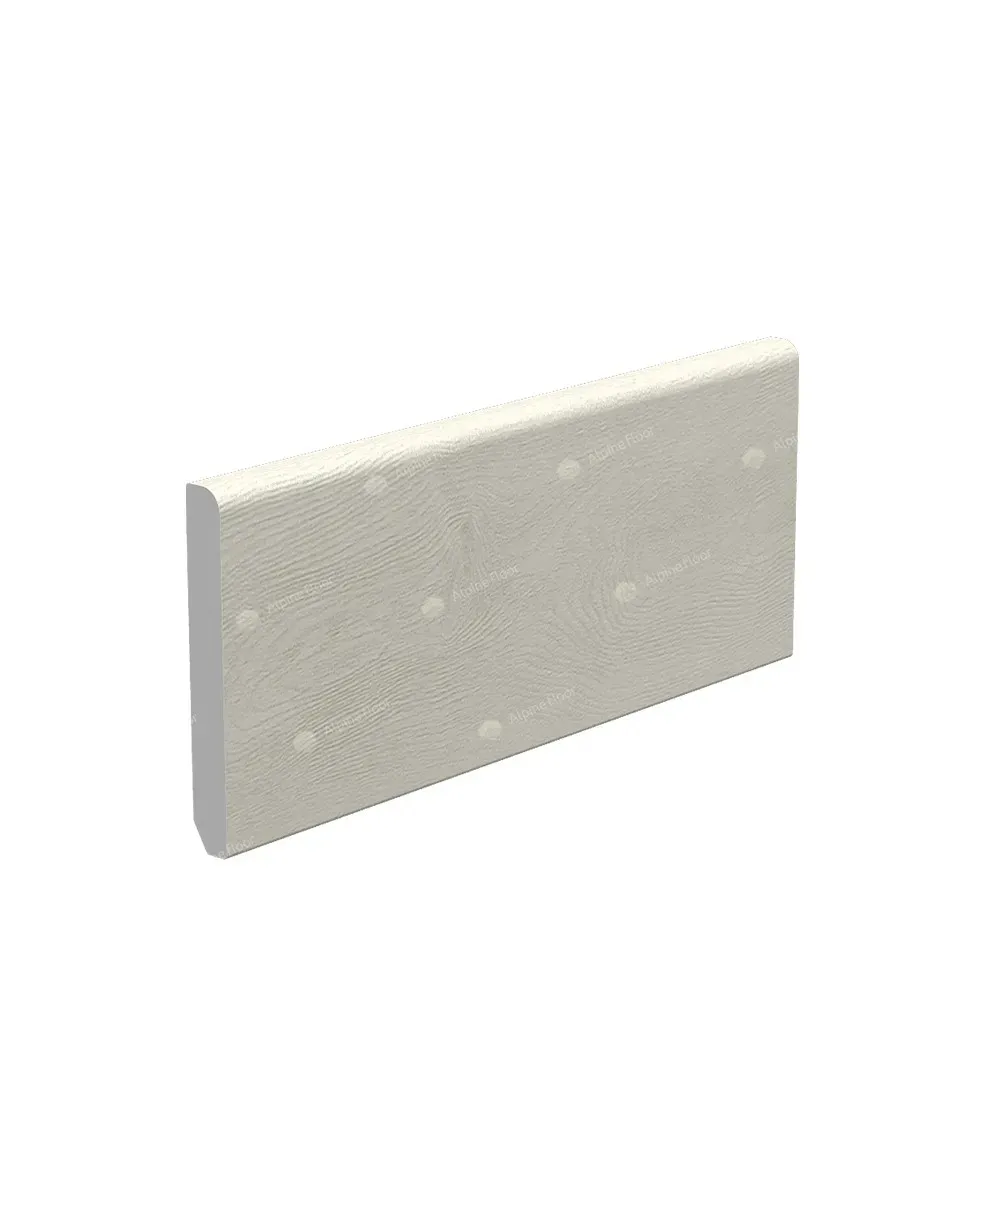
Types of Floor Molding: A Complete Guide to Baseboards, Trim and Transition Pieces
If you're considering renovating or installing new flooring, understanding the various types of floor molding, including baseboards, trim, and transition pieces, is essential. This guide is designed for homeowners, contractors, and DIY enthusiasts seeking to enhance the aesthetic appeal and functionality of their spaces. By addressing common problems such as gaps, uneven floors, and aesthetic
Sep. 02, 2026
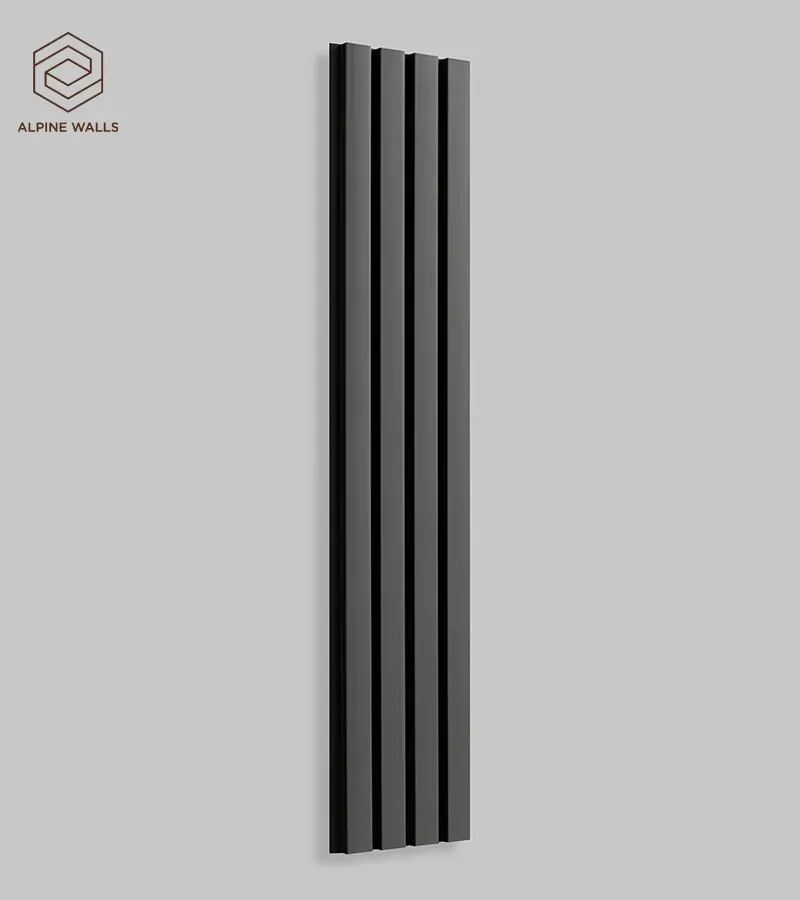
Fluted vs Slat Wall Panels: What Is the Difference?
When considering Decorative PS Wall Panels, one important decision involves choosing between fluted and slat wall panels. These two options serve different aesthetic and functional purposes in interior design and retail environments. In this article, we will provide an in-depth comparison of fluted and slat wall panels, exploring their features, advantages, disadvantages, and appropriate uses to
Sep. 01, 2026
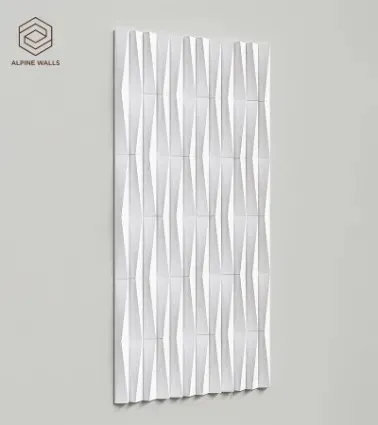
Textured Wall Panels: A Simple Way to Transform Plain Walls
Are you looking to elevate your home’s interior design? Consider incorporating Polyurethane Wall Panels Interior into your renovation plans. Textured wall panels not only add character to an otherwise dull space but also offer numerous benefits, including ease of installation and a variety of designs to choose from. This article will guide you through the advantages of textured wall panels,


