Sep. 09, 2026
Decorative Wall Panels Solutions can transform your living space, adding style and insulation benefits. However, many homeowners face challenges such as difficulty in installation and ensuring a perfect finish with PU wall panels. To address these concerns, this guide provides a detailed, step-by-step process, including materials needed, common pitfalls, and real user stories demonstrating successful installations. With the popularity of PU decorative wall panels on the rise, understanding the practical steps and preparatory needs can significantly enhance your DIY experience.
Before diving into your installation project, proper preparation is key. Here’s a detailed checklist that includes the materials, tools, and prerequisites needed:
Now that you have your materials and tools ready, follow this actionable, illustrated guide to install your PU wall panels effectively:

To ensure a smooth installation process, here are a few common errors to watch out for, along with their solutions:
By following these detailed steps, you can successfully install PU wall panels to enhance your space. Remember to measure accurately, apply adhesive thoughtfully, and seal joints for a polished finish. Don’t rush! Taking the time to prepare and double-check your work can lead to a visually appealing and long-lasting result. For more information and high-quality products, consider checking out Alpine Floor, known for durability and aesthetic charm.
You will need a utility knife, measuring tape, level, caulking gun, and safety goggles.
Yes, PU wall panels can be painted with water-based paint once they are installed and sealed with caulking.
Simply wipe them down with a damp cloth and mild detergent for regular maintenance.
Latest News
Sep. 09, 2026
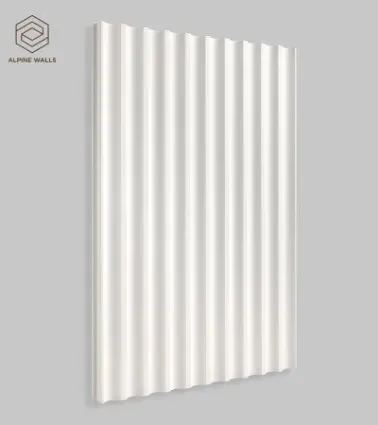
How Many Wall Panels Do I Need? A Simple Measurement Guide
For homeowners, interior designers, and DIY enthusiasts seeking Decorative Wall Panels Solutions, determining the correct number of wall panels required for your space can be a daunting task. This article addresses common problems such as estimating the surface area, avoiding wasted materials, and optimizing budget constraints. By understanding the measurement process, you will be equipped to
Sep. 09, 2026
How to Install PU Wall Panels: A Step-by-Step Guide
Decorative wall panels solutions can transform your living space, adding style and insulation benefits. However, many homeowners face challenges such as difficulty in installation and ensuring a perfect finish with PU wall panels. To address these concerns, this guide provides a detailed, step-by-step process, including materials needed, common pitfalls, and real user stories demonstrating
Sep. 08, 2026
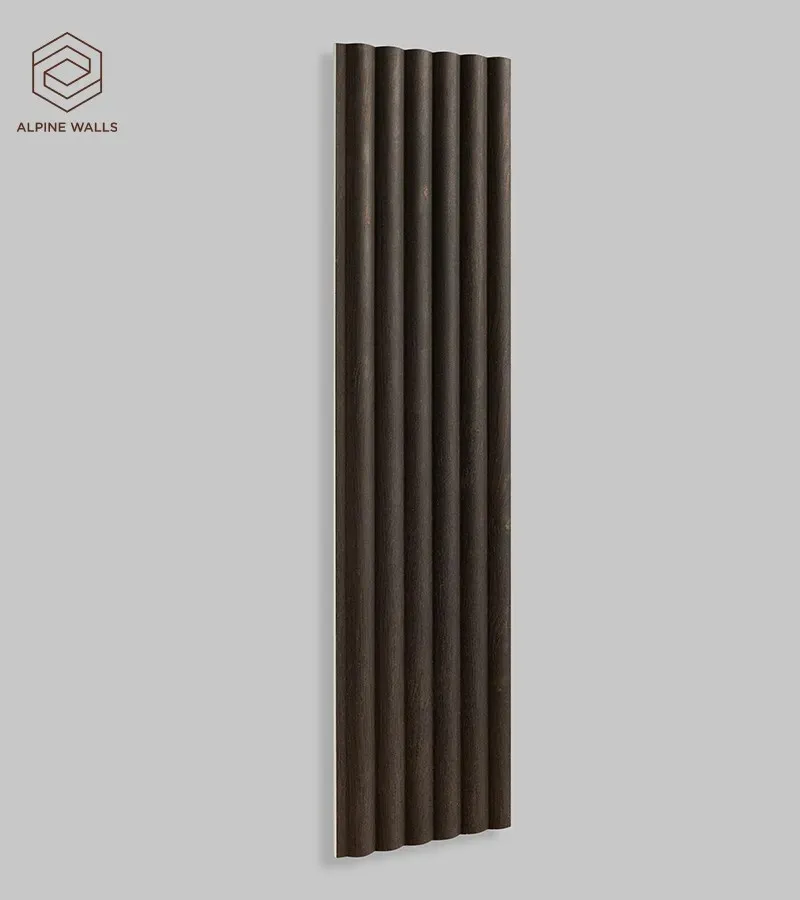
How to Create a Seamless Feature Wall with Interlocking Panels
Creating a feature wall using Decorative PS Wall Panels can drastically enhance the aesthetic of your space. In this guide, we at Alpine Floor will walk you through the process step-by-step, ensuring a flawless result that transforms your interiors.
Sep. 08, 2026
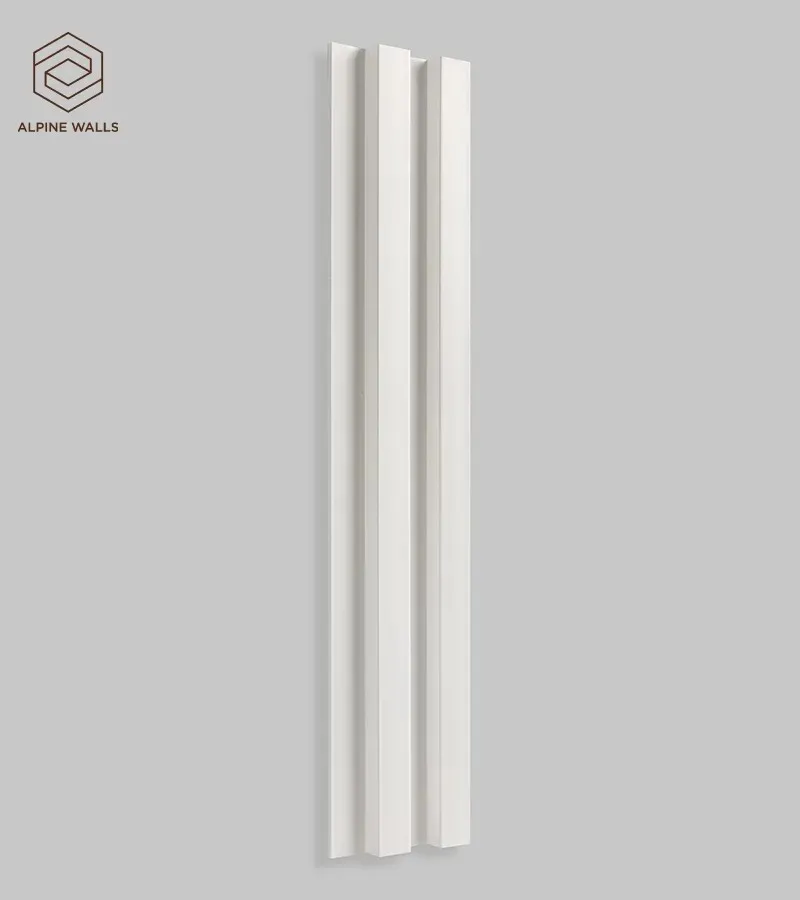
Paintable Wall Panels: How to Choose the Right Color and Finish
When it comes to home improvement, selecting the right decorative wall panels can be a daunting task. Users often face challenges such as choosing a color that complements their existing décor, determining the ideal finish for longevity, and ultimately achieving a professional look without breaking the bank. Adding to this, the absence of clear guidance can lead to frustration. Fortunately,


