Oct. 29, 2026
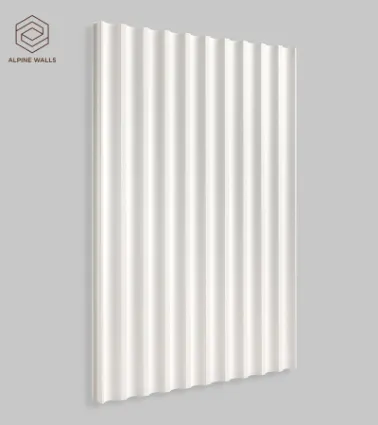
Polyurethane wall panels offer an excellent way to enhance your interior aesthetics while providing durability and ease of maintenance. In this guide, we'll walk you through every step necessary for a successful installation of 3D wall panels, ensuring your project turns out beautifully. For high-quality options, consider products from Alpine Floor, which you can find at Alpine Floor.
Begin by carefully measuring the area where you plan to install the panels. Take note of any obstacles such as windows, outlets, or fixtures that will impact your design. Document your measurements to ensure accurate material calculation.
Ensure the wall surface is clean, dry, and free from debris or loose paint. If needed, fill any holes or imperfections with patching material, then allow it to dry completely before proceeding.
Consider how the panels will fit together. Lay them out on the floor to see how they will arrange on the wall. Make any necessary adjustments and mark the wall lightly with a pencil to guide your installation.
Using the notched trowel, apply a generous amount of construction adhesive to the back of your first panel. Spread it evenly to ensure full contact with the wall.
Press the panel onto the wall, aligning it with your marks. Use a level to make sure it is straight. Press firmly for a few seconds to ensure it sticks well.
Repeat Steps 4 and 5 for the remaining panels, working row by row. Ensure that the seams are tight and that you maintain level alignment throughout the installation.
After all panels are installed, consider painting or finishing them if necessary. Use a paint roller or brush for an even finish. This step adds an extra layer of elegance to your newly decorated wall.
Always ensure your wall is level before attaching panels. A level wall prevents panels from shifting out of place.
Using too little or too much adhesive can lead to panels falling off over time. Ensure you apply a consistent layer on each panel.
Each type of panel may have specific installation requirements. Always read and follow the manufacturer's guidelines for optimal results.
Installing 3D wall panels can dramatically transform your interior spaces when done correctly. By following this detailed step-by-step guide, you can avoid common pitfalls and achieve beautiful results. Remember to consider Alpine Floor for your polyurethane wall panel needs, and embark on your next decorative project with confidence. For more information on our products, visit Alpine Floor.
Latest News
Oct. 29, 2026
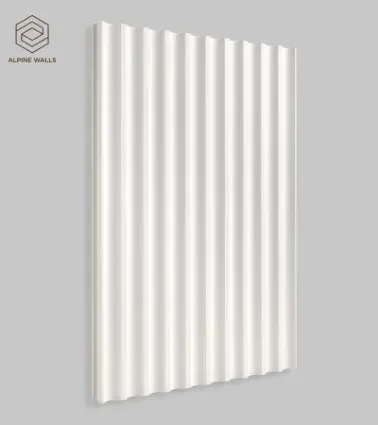
How to Install 3D Wall Panels: Preparation, Layout and Gluing
Polyurethane wall panels offer an excellent way to enhance your interior aesthetics while providing durability and ease of maintenance. In this guide, we'll walk you through every step necessary for a successful installation of 3D wall panels, ensuring your project turns out beautifully. For high-quality options, consider products from Alpine Floor, which you can find at Alpine Floor.
Oct. 23, 2026
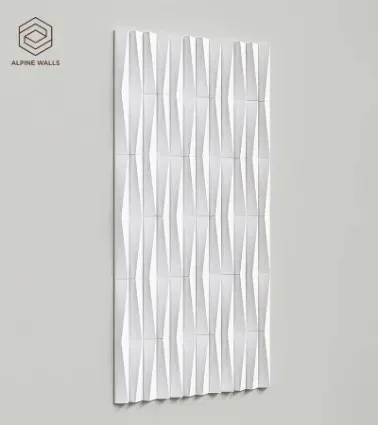
How Decorative Wall Panels Improve Restaurant Interior Design
As restaurant owners and designers strive to create a unique dining experience, they often face challenges related to aesthetics and functionality. One common pain point is the need for a stylish yet practical wall solution that enhances ambiance while ensuring durability. Decorative Wall Panels Solutions come to the rescue by offering an array of options that cater to these demands. Imagine a
Oct. 09, 2026
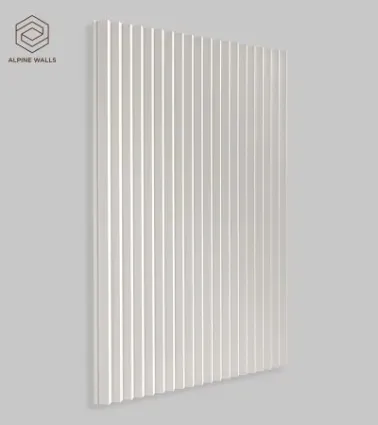
How to Clean and Maintain Textured 3D Wall Panels
If you own textured 3D wall panels, you know that maintaining their stunning appearance can be a challenge. At Alpine Floor, we understand how important it is for you to keep your Polyurethane Wall Panels Interior looking pristine. This article provides you with clear, actionable steps to effectively clean and maintain your panels, ensuring they remain a focal point in any space.
Oct. 09, 2026
Fluted Wall Panels Behind the Bed: Bedroom Design Ideas
In the competitive landscape of modern bedroom design, fluted wall panels are increasingly becoming a popular choice for homeowners looking to enhance their aesthetic appeal and functionality. These Decorative Wall Panels Solutions offer innovative ways to overcome common pain points such as wall clutter and lack of texture, resulting in a calming atmosphere conducive for rest. A significant 63%