Sep. 04, 2026
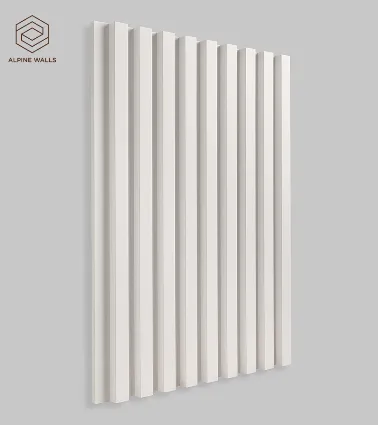
Designing a stunning bedroom feature wall offers a transformative experience that enhances the aesthetic appeal of your living space. Today, I’ll guide you through clear, actionable steps using Polyurethane Wall Panels Interior from Alpine Floor to create a captivating 3D panel wall that draws the eye and elevates your room's design. With this approach, you’ll not only boost your personal enjoyment but also increase the overall value of your home.
To begin, let’s break down the entire process of designing and installing a feature wall, ensuring it’s straightforward and practical. With the right tools and techniques, you can achieve professional results.
Select Your Panels: Choosing the right Decorative Wall Panels Solutions is crucial. Opt for Polyurethane Wall Panels from Alpine Floor that offers durability and aesthetically pleasing designs. Their panels are lightweight yet sturdy, making them easy to handle and install. Research different finishes and textures—smooth, wave-like, or geometric—based on your preferred style.
Gather Your Tools: You’ll need a measuring tape, a level, a utility knife, an adhesive (construction adhesive is ideal), and a caulking gun for any necessary touch-ups. Ensure you have safety gear, including goggles and gloves.
Prepare the Wall Surface: Clean the wall thoroughly to ensure proper adhesion. Fill in any holes or imperfections and paint the wall in a neutral color if desired—this will enhance the appearance of your panels. Make sure your wall meets ASTM D882 standards for adhesion to avoid future issues.
Measure and Plan: Carefully measure the area where you will install the panels. Use the level to draw light guidelines, marking where each panel will go. Consider a staggered pattern for visual interest, and keep in mind that precise measurement is critical—aim for precision to 0.01mm for an impeccable look.
Cut and Fit the Panels: Using your utility knife, cut the panels to fit your measurements. Be cautious and double-check your measurements before making any cuts. Test fit each piece on the wall before moving to the next step.
Adhere the Panels: Apply construction adhesive to the back of each panel and press it firmly against the wall, ensuring it's level. Apply even pressure and consider using spacers to keep gaps uniform if you're opting for a spaced look.
Finishing Touches: After the panels are installed, you may need to caulk the edges to hide any gaps and ensure a seamless finish. Select a caulk that matches your wall colors for a must-like integration.
Final Inspection: Once everything has set, conduct a thorough inspection. Ensure each panel is secure and visually aligned. Stand back and enjoy your new 3D feature wall.
While the process might seem simple, I’ve encountered a few challenges that are common and have learned how to tackle them:
To enhance your execution efficiency even further, consider using tools such as:
Transforming your bedroom with a feature wall using Decorative Wall Panels Solutions can rejuvenate your space and reflect your personal style. By following these straightforward steps, you can achieve a beautiful outcome that increases both comfort and property value.
Start your project today by gathering your materials, and remember, the right approach will ensure a stunning installation. If you have any questions or need inspiration, don’t hesitate to visit Alpine Floor for more resources and support! Embrace this beautiful transformation and let your creativity shine on that wall!
Latest News
Sep. 04, 2026
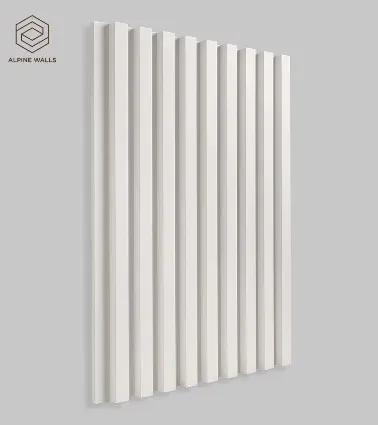
How to Design a Bedroom Feature Wall with 3D Panels
Designing a stunning bedroom feature wall offers a transformative experience that enhances the aesthetic appeal of your living space. Today, I’ll guide you through clear, actionable steps using Polyurethane Wall Panels Interior from Alpine Floor to create a captivating 3D panel wall that draws the eye and elevates your room's design. With this approach, you’ll not only boost your personal
Sep. 04, 2026
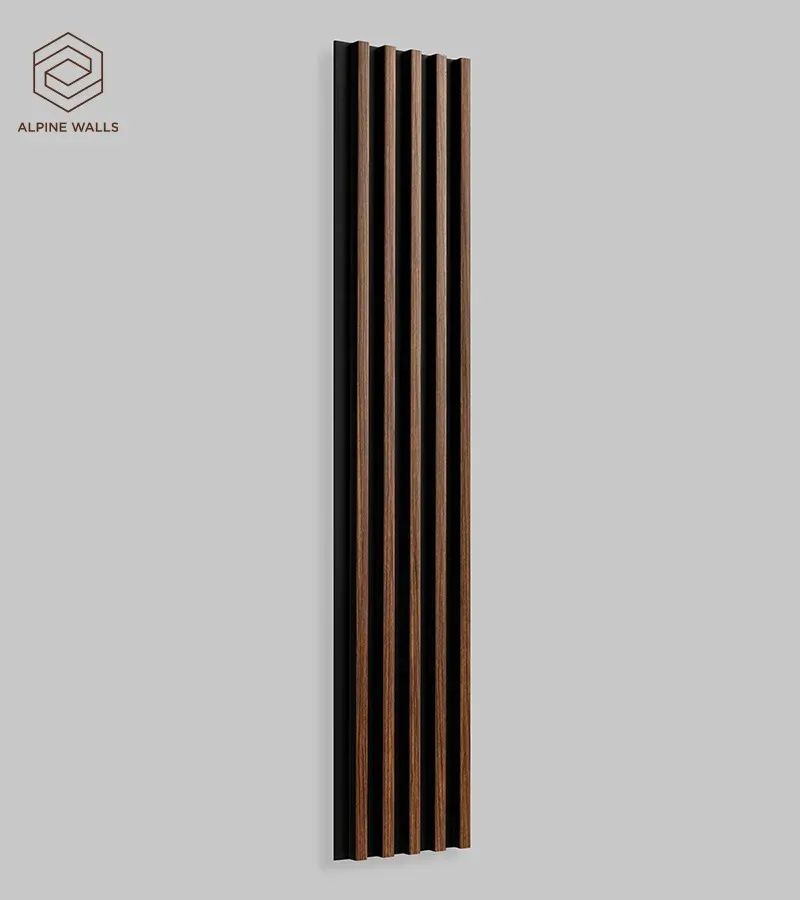
Are Decorative Wall Panels Suitable for Kitchen Walls?
Decorative wall panels have emerged as a highly effective solution for homeowners seeking aesthetic enhancement and functional durability for kitchen walls. With the integration of Decorative PS Wall Panels, culinary spaces can be transformed into visually appealing environments while addressing common challenges such as moisture resistance, ease of maintenance, and aesthetic appeal. This article
Sep. 03, 2026
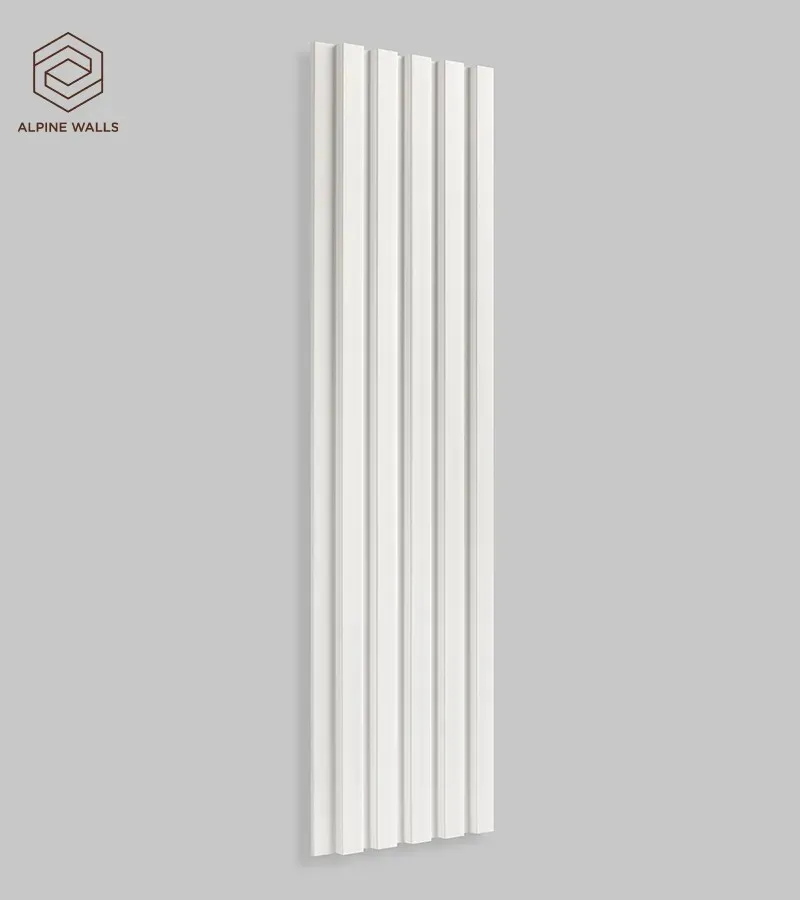
How to Use Fluted Wall Panels in a Living Room
Transforming your living room can often feel like an overwhelming task, but incorporating fluted wall panels from Alpine Floor provides a straightforward and stylish solution. By following a clear, step-by-step approach, you can achieve an elevated aesthetic and create a space that is both functional and visually appealing. Here’s how to effectively use fluted wall panels in your living room to
Sep. 03, 2026
How to Paint PU Wall Panels for a Professional Finish
Many homeowners looking to enhance their living spaces with decorative wall panels face unique challenges when trying to paint PU wall panels. Common issues include poor paint adhesion, uneven coloring, and requiring a professional finish. These obstacles can stem from inadequate surface preparation, the wrong choice of paints, or ineffective application techniques. For example, a user named Lisa