Sep. 08, 2026
Creating a feature wall using Decorative PS Wall Panels can drastically enhance the aesthetic of your space. In this guide, we at Alpine Floor will walk you through the process step-by-step, ensuring a flawless result that transforms your interiors.
Ensure the wall surface is clean, smooth, and dry. Fill any holes or imperfections with spackle or joint compound and allow to dry completely.
Use a measuring tape to determine the area you want to cover. Mark the dimensions lightly with a pencil and draw a level line to guide your installation.
Measure the panels according to your wall's dimensions, ensuring a snug fit. Always double-check your measurements to avoid mistakes.
Using a utility knife or panel saw, cut the interlocking panels. Make straight cuts for a seamless finish. Wear safety goggles to protect your eyes during cutting.
Apply construction adhesive to the back of the panel or directly onto the wall, following the manufacturer’s instructions.
Start at the bottom corner of your marked wall. Press the panel into place, ensuring it's level. Push the next panel into place, interlocking them as you go. Continue until the wall is complete.
Use caulk to fill any gaps between panels and at the edges for a polished appearance. Smooth the caulk with your finger for a clean look.
Once the adhesive has cured, consider painting or finishing your panels to match your decor style. Use primer first if you are painting.
Now that you’ve learned how to create a seamless feature wall with interlocking panels, it’s time to get started! Using Decorative PS Wall Panels from Alpine Floor will provide you with the quality and style that your space deserves. For more insights, visit us at Alpine Floor.
Latest News
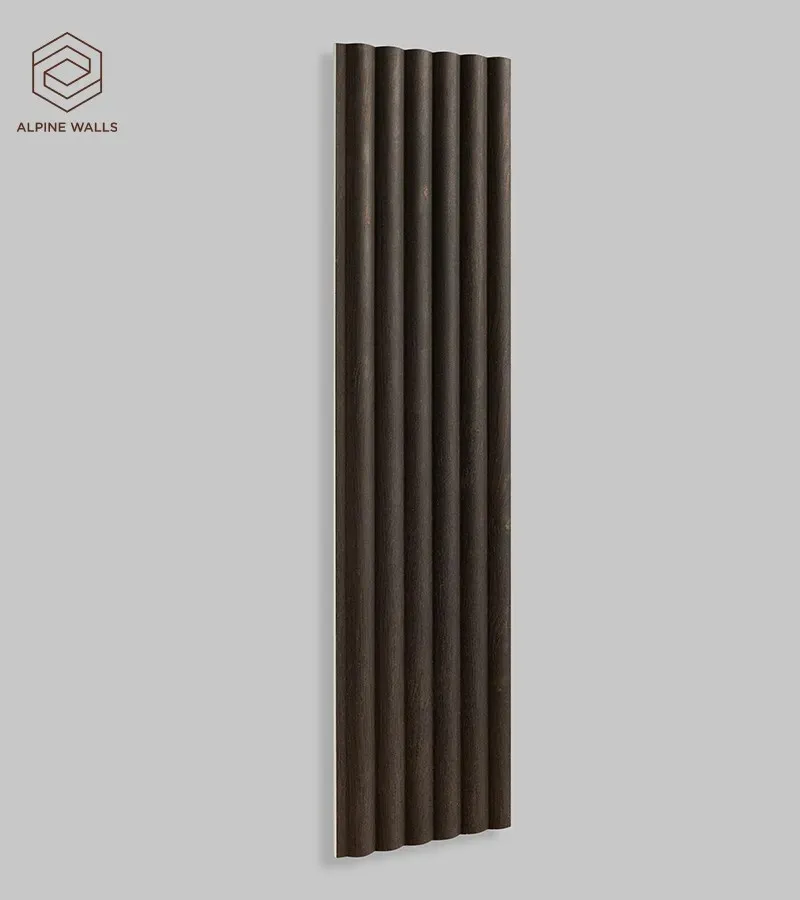
Sep. 08, 2026
How to Create a Seamless Feature Wall with Interlocking Panels
Creating a feature wall using Decorative PS Wall Panels can drastically enhance the aesthetic of your space. In this guide, we at Alpine Floor will walk you through the process step-by-step, ensuring a flawless result that transforms your interiors.
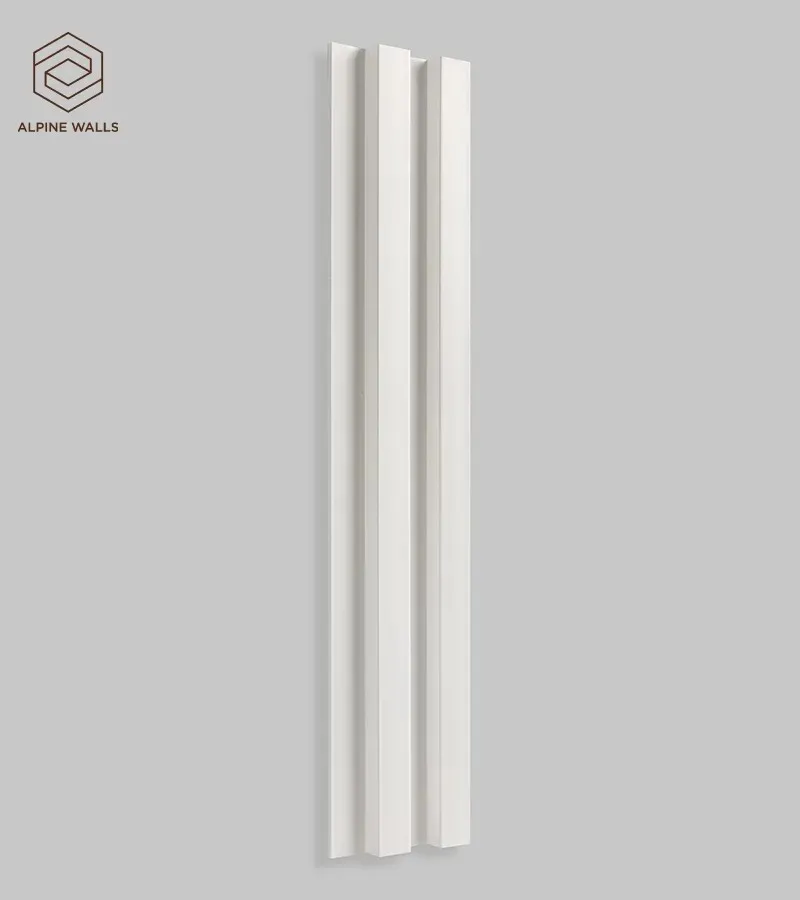
Sep. 08, 2026
Paintable Wall Panels: How to Choose the Right Color and Finish
When it comes to home improvement, selecting the right decorative wall panels can be a daunting task. Users often face challenges such as choosing a color that complements their existing décor, determining the ideal finish for longevity, and ultimately achieving a professional look without breaking the bank. Adding to this, the absence of clear guidance can lead to frustration. Fortunately,
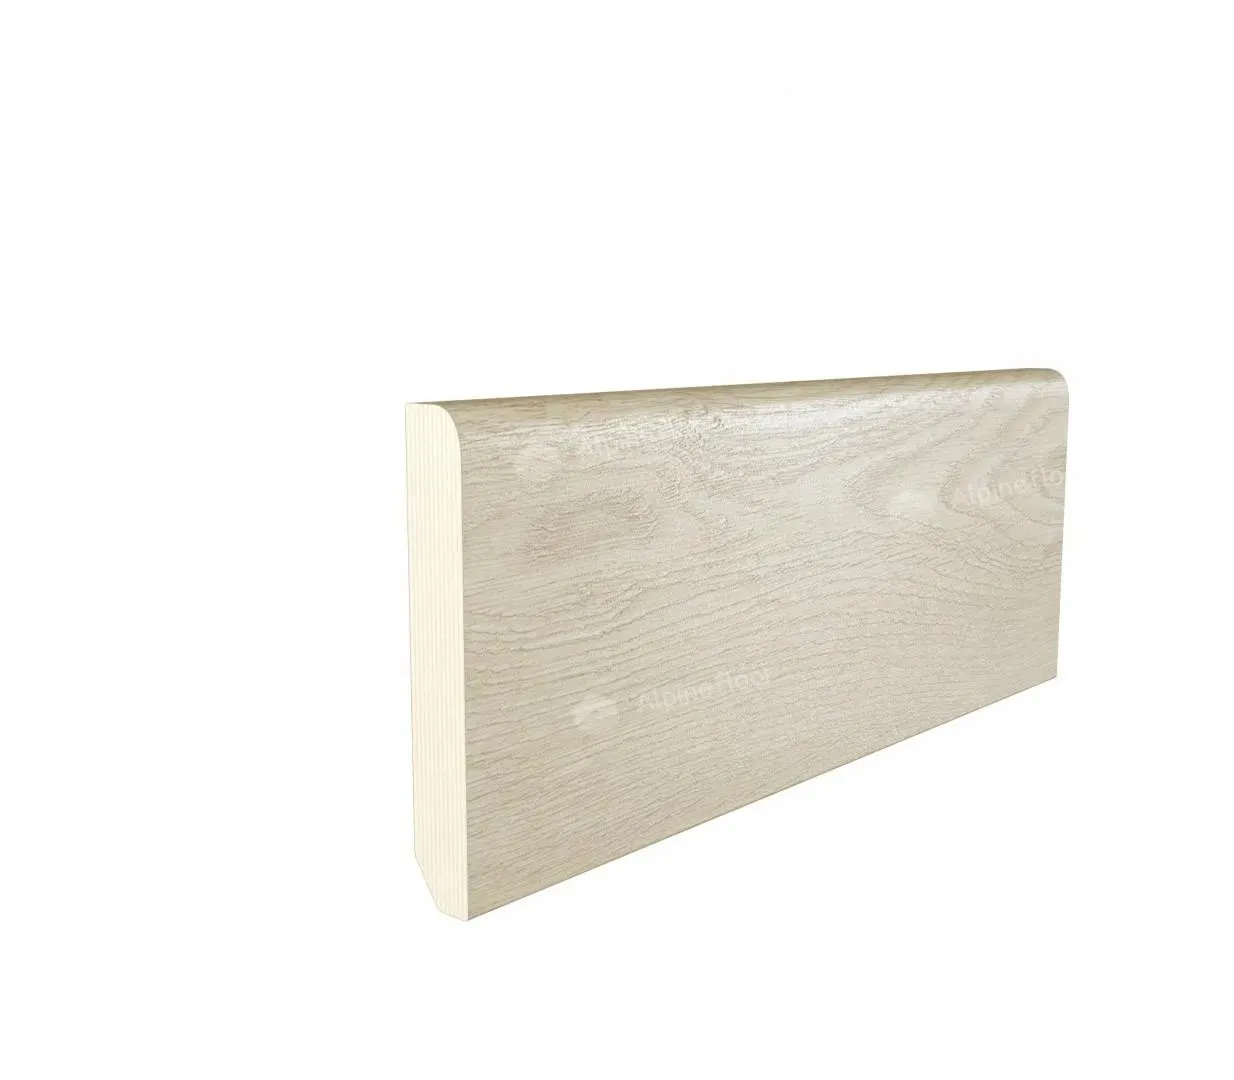
Sep. 07, 2026
Skirting Board Materials Compared: Wood, MDF, PVC and Stone Composite
When choosing skirting boards, the material can make or break your interior design. Users often ask, "What is the best skirting board material for my home?" Here, we will explore the characteristics of four popular skirting board materials: Wood, MDF (Medium Density Fiberboard), PVC (Polyvinyl Chloride), and Stone Composite. We aim to address common pain points such as durability,
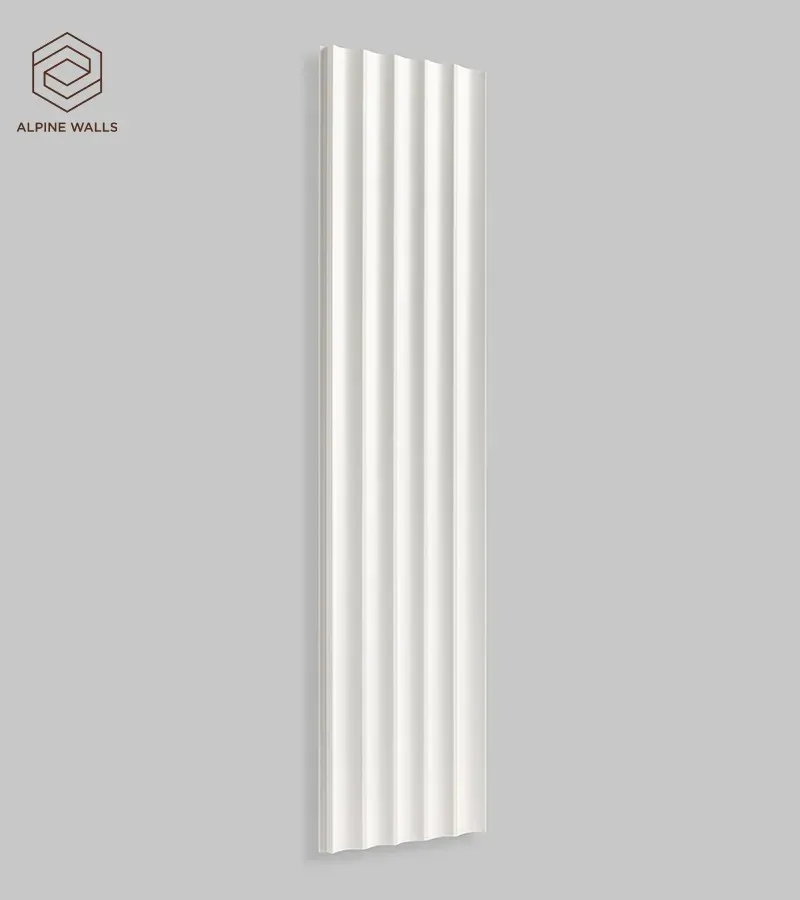
Sep. 07, 2026
What Is the Best Adhesive for PU Decorative Wall Panels?
Choosing the right adhesive for PU decorative wall panels is essential for achieving a long-lasting and visually appealing installation. Homeowners, interior designers, and contractors often face the challenge of selecting an adhesive that not only securely holds the panels in place but also accommodates various environmental conditions. In this article, we will explore adhesive solutions


